
Last Updated on December 14, 2020 by NewToLinux
The easiest way to try and/or install Linux on your computer is using a bootable USB drive. My favorite way I have found works with minimal stress. All the hard work is done with some software you download to your existing computer. All you need is a USB flash drive and some patience.
Most Linux distributions offer downloads in ISO format. You will see it referred to as an ISO file or an ISO image when you read articles on the Internet. So what exactly is an ISO file/image? You may remember when software, like Windows, used to come on installation CDs and DVDs. You may also remember super thick technology books, like ones about Linux, that came with a CD on the book’s back cover. An ISO file holds all those files in the same file structure that would be on the CD, DVD, or other optical media, but in one tidy file type that, when used properly, works just like the optical media would by your computer. When we create the bootable USB drive and load the ISO on it (My Preferred Method – see below) or install the ISO image on the USB drive (Rufus method mentioned below), the USB drive will act as an optical drive and work just fine.
You will need a USB Flash Drive rated at 32 GB or less. Why 32 GB or less? Windows disk management cannot format a drive partition larger than 32 GB with the FAT32 file system. There is 3rd party software that can, but we want things to work without needing any additional software. Also, FAT32 is the only file system that works out of the box with Windows, Mac OS, and Linux. There is a 4 GB file limit with FAT32, but no ISO files I have found so far exceed that size.
These are the small USB flash drives I bought. I like them since they do not stick out that far from the computer. They were also cost-effective. I have not had any trouble with them and have run them through the wringer learning the bootable USB methods for this post.
I choose two methods I like the best since they are extremely doable and will not create much, if any, discouragement on your journey to Linux.
Also, before you get started, please read this post. It speaks to verifying software downloads and offers a tool for Windows.
My Preferred Method (a bit harder, but worth it)
Harder than what you ask? There is a software called Rufus that helps create bootable USB flash drives. It is what I did until I found my new way.
In April 2020, a developer offered an additional alternative to creating a bootable USB as a Free and Open Source (FOSS) project. The great thing about this is the code is reviewable by anyone, so we can be sure nothing sketchy is going on. The software is called Ventoy.
When you first go to the site, you will notice a marketing company did not create the site. Do not let that worry you that it might be sketchy. It actually works really well. It has become my go-to bootable USB solution.
Step 1
Download Ventoy from the download page, or you can go directly to the Github repository page. You will notice the SHA 256 checksum values. We will use those to verify the file before we install the software. As of this post date, ventoy-1.0.29-windows.zip is the current version that I downloaded.

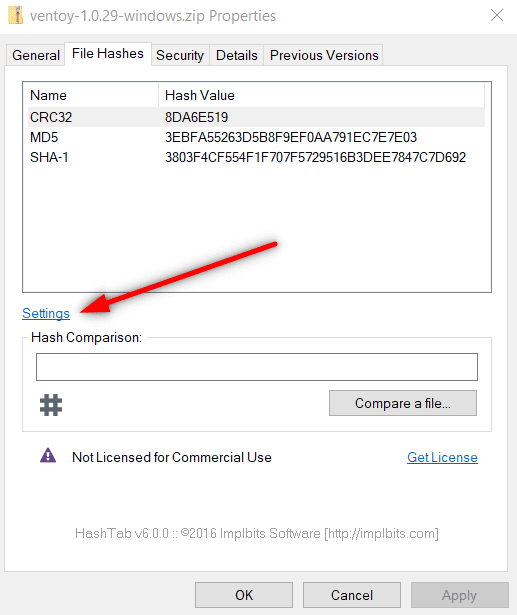
After your download is complete, view the file in the folder. Do not unzip the file. Right-click on the file and choose properties. Select the File Hashes tab. You will notice the default hashes with HashTab. You will notice that SHA-256 is not one of them. If you click settings, you will see a popup with all the different hashes HashTab can calculate. Select SHA-256 and click OK.
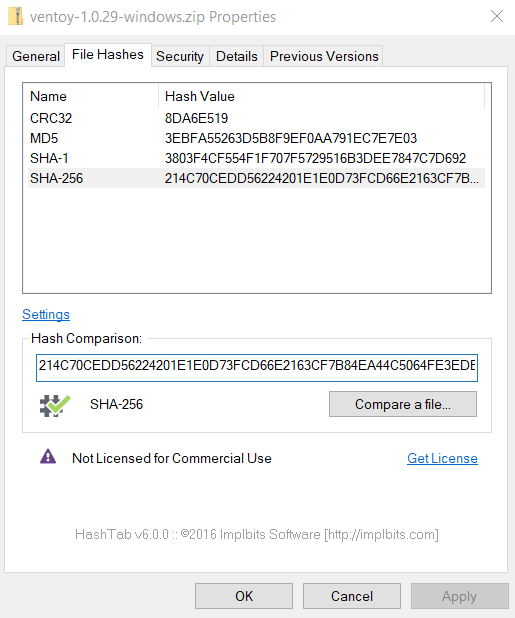
Go to the download page and highlight the SHA-256 hash, right-click and copy it or do CTRL-C. That will automatically fill into the hash comparison field on the properties window, and you will notice the green check if it matches.
Step 2
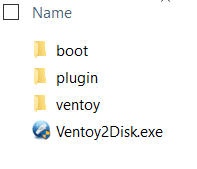
The file is good to go so now you can Unzip it. These should be the files in the Ventoy folder.
To be safe, please remove all USB storage devices from your computer. Do not accidentally install Ventoy on a flash drive with data on it.
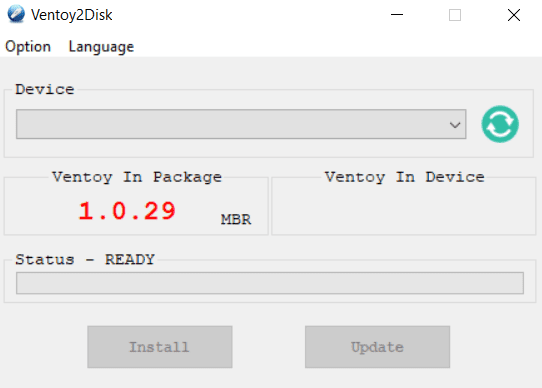
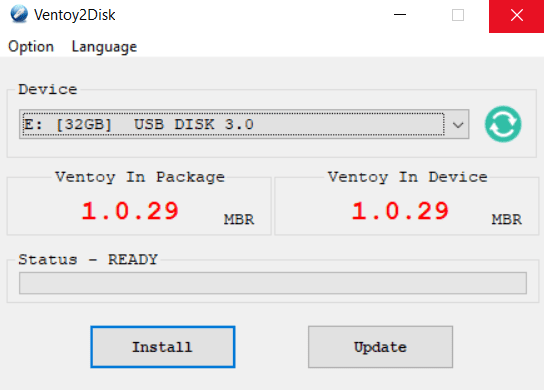
Double click on Ventoy2Disk.exe. If you are given a warning for an unknown file to make changes, please select YES. It should look like this. Notice the Device is blank.
Stick a 32 GB or smaller flash drive into an available USB port and click the green circle arrow thing. The drive will populate in the device field.
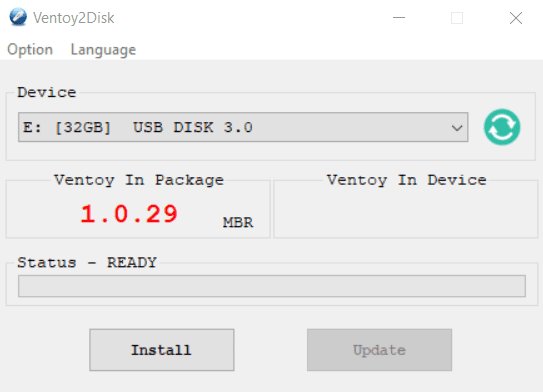
You are now ready to install. Go ahead and click install.
For future reference, if you are updating, Ventoy automatically knows the selected device has Ventoy on it and its version.
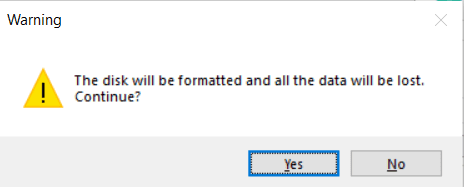
Select YES when you see this warning. Again, be sure you are willing to lose what may be on that particular flash drive.
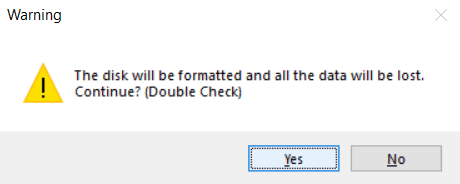
You will get another just in case warning. Select YES. I was pleasantly surprised that it happened. It is nice, IMO, they are looking out for me possibly being a bonehead.
The install will happen. You may get a couple file explorer windows open. Close them and you will see this.

Click OK and you will see this. Notice the Ventoy In Device matches the file version we installed.
Step 3
If you open file explorer and go to My PC you will see this.
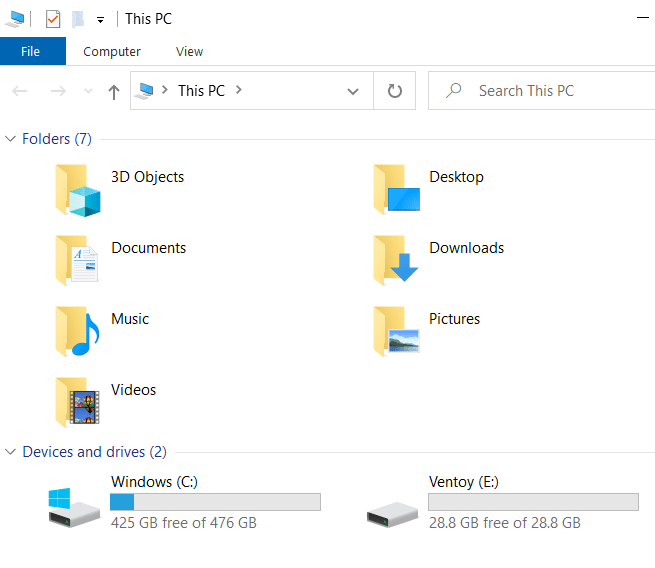
The USB drive actually has two partitions on it. One is the boot partition that does not have a drive letter, and the other is where we will store files. Open the Ventoy drive. It will be empty.
Congratulations. You just made your Bootable USB Drive.
You can customize Ventoy if you want, but there is no need. It automatically will scan the disk for any ISO files you copy to it. When you boot from the Ventoy drive, the ISO files will be listed alphabetically, and you will use the arrow key to select and hit Enter to select the ISO you want.
The next post will be using your new Ventoy bootable USB to try and/or install Linux.